DIY | Geometric Pendant Light
I have to laugh sometimes at the DIY's I see. You usually find them on Pinterest, it looks aaamazing + so easy! How can it be true?! Weeks later + $100 over budget you finally finish your piece, semi-proud of how it came out. I am here to tell you that I found a super awesome DIY that IS cheap AND relatively quick! They do exist.
$20-ish Geometric Pendant light DIY
I found this tutorial through Style Me Pretty + was actually really surprised at how affordable + easy it was to do. They claim it costs $10 but eh, it's realistically more like $20-30, which is still really cheap.
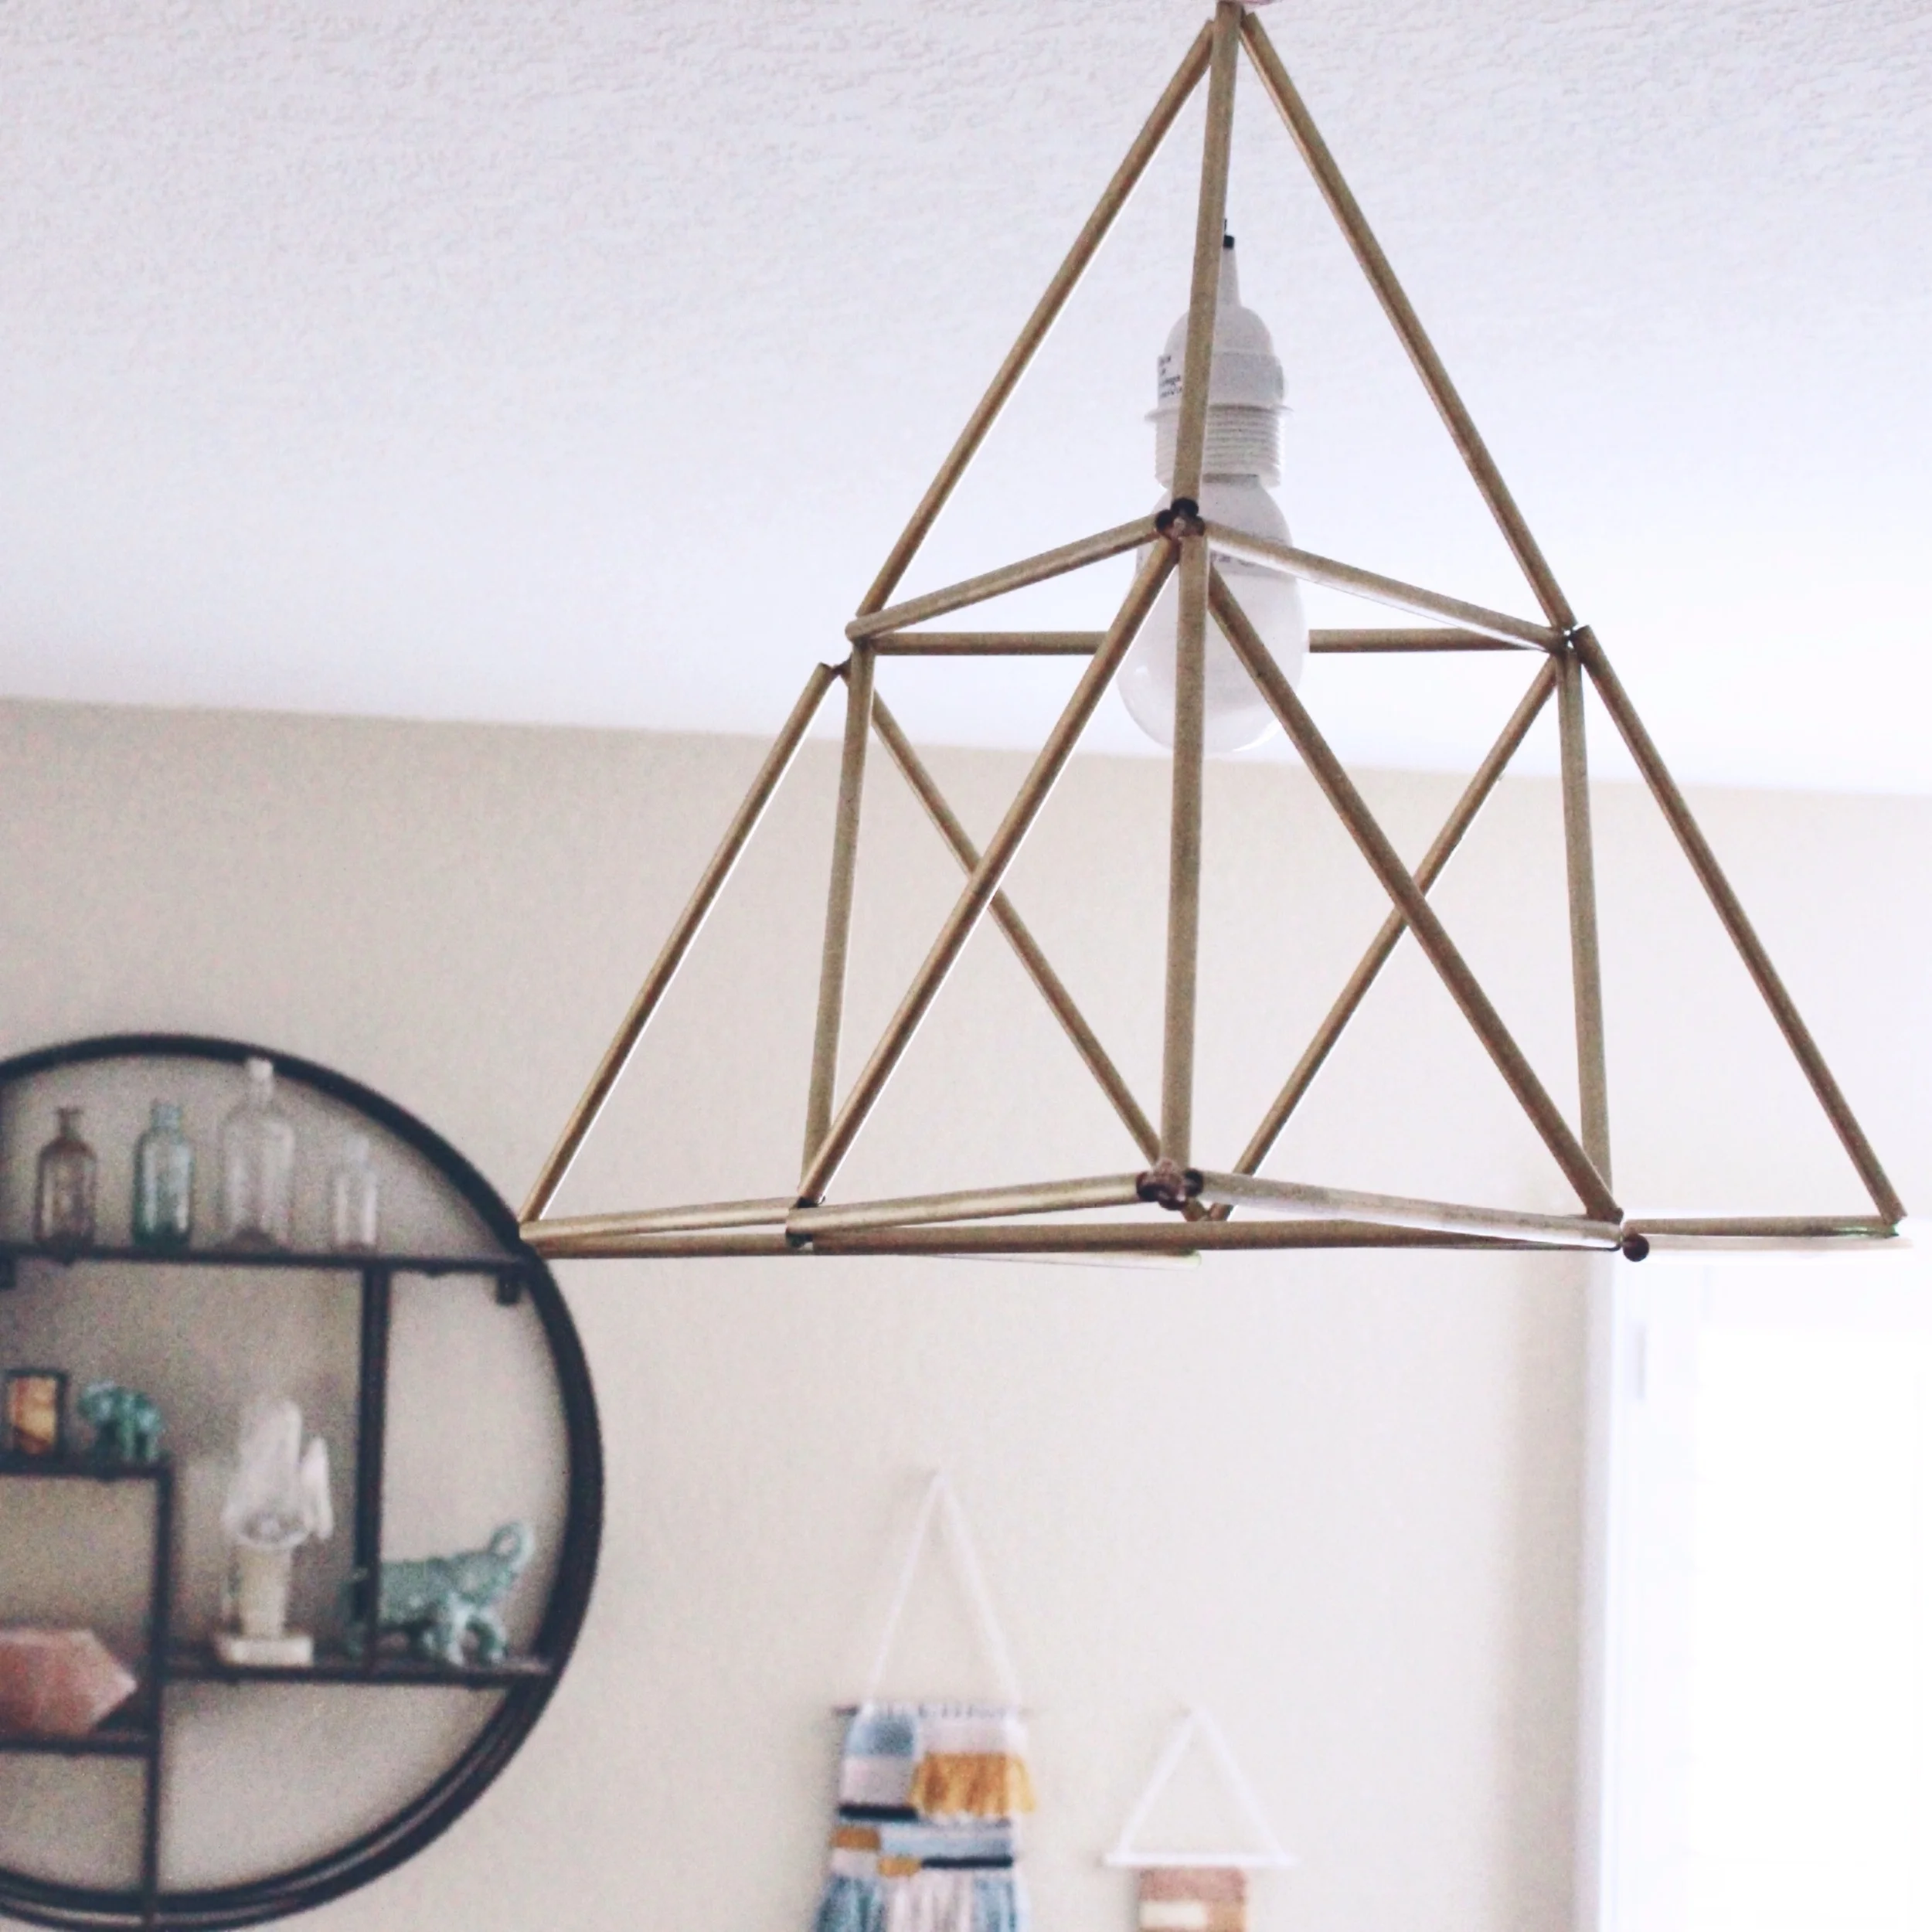
Who wouldn't want this super cute geometric pendant in their space? Best part is, depending on how many straws you use, the shape + size options are endless! Also, feel free to change up the spray paint. Silver, rose gold, or a matte white would look great too.
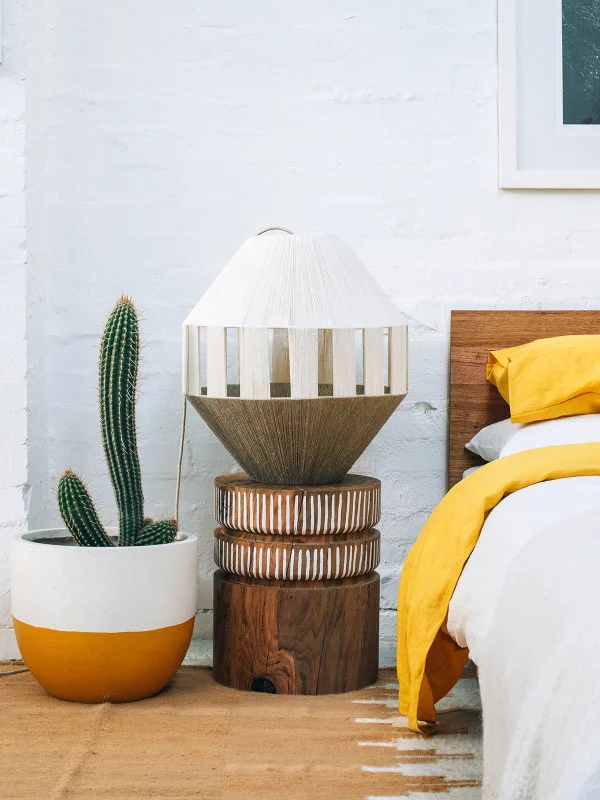
This pendant is also great for bedside + office light fixtures, + apartment living as there is no hardwiring required!
Supplies
- 20-30 Straws (I used these)
- 1-2 Cans of Gold Spray Paint (I used Brilliant Gold)
- Twine | Needle | Scissors
- Wire (I used gold floral wire)
- Light Kit (I used this)
Instructions
- First things first, spray those straws! I did mine a few batches at a time as I was low on space, but I imagine it wouldn't take more than an hour to spray them all.
- Start to combine the straws into geometric shapes. I started with some triangles + threaded my twine throughout each straw to make them taut. This part can be a little tricky. I played around with the pendant shape for a good while (a few hours) until I found the one I wanted. I ended up going with a pyramid shape, but may add more to make it a diamond.
- After I finished the shape I used the floral wire to attach the top of the pendant to the light cord. I then took some time to touch up any ends that were discolored. Throughout the process the gold ends of the straws starting chipping, so a little touch of paint fixes that right up. I left the twine natural as I liked the contrast of twine to gold, but up to you.
- Viola! Let there be light! Isn't she cute?
- Do it yourself.
Xo
Em
Fine Print | all photos are the property of Found + Kept | If you'd like to use any, give proper credit + a link back to original post.